
Share This Article
Table of Contents
If you’re aiming to infuse your windows with personalized charm and flair, crafting your own window valances could be the ideal solution. Valances not only serve as an attractive accent but also effectively conceal unsightly curtain rods, elevating the overall aesthetic of your room. This tutorial offers a comprehensive breakdown of the steps required to sew a bespoke DIY window valance. Regardless of whether you’re a novice or a seasoned sewing enthusiast, you’ll find these straightforward instructions beneficial.

The Advantages of Creating a Custom Window Valance
Constructing your own window valance presents a multitude of advantages:
Advertisement
🔥 Fast & Free Download

- Personalization: You gain the freedom to select fabrics and styles that harmonize flawlessly with your home’s interior design.
- Budget-Friendly: Fabricating your own valance can result in significant cost savings compared to purchasing a pre-made one, particularly if you already possess essential sewing equipment.
- Imaginative Expression: Fashioning a valance provides an avenue to showcase your creativity, experiment with diverse patterns, and introduce distinctive design features into your living space.
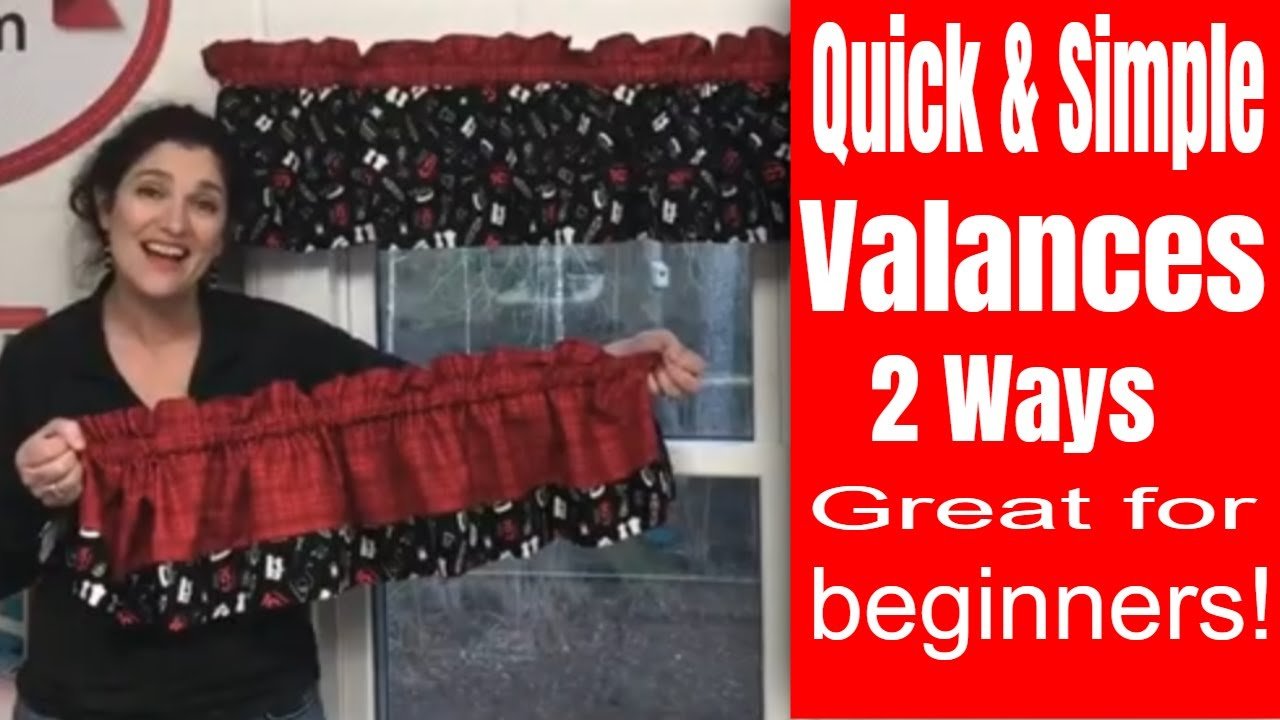
Now, let’s delve into the process of creating a window valance in two distinct styles: one featuring ruffles and the other maintaining a streamlined, unruffled appearance.
Essential Tools and Materials for Your Project
Before commencing, ensure you have all the necessary tools and materials readily available:
- Your preferred fabric (quantity depends on window dimensions and desired style)
- Measuring tape
- Scissors
- Sewing machine
- Thread (color-matched to your fabric)
- Muslin (optional, for creating a lining)
- Iron and ironing board
- Ruler or fabric marker
- Pins
- Curtain rod
- Best Press or fabric starch (optional, for achieving crisp, well-defined seams)
Step-by-Step Guide to Sewing Your Valance
Craft eye-catching window valances using our detailed DIY guide. Follow these accessible steps, from initial measurements to final stitches, and gain expert advice for achieving impeccable window treatments.
Stage 1: Accurately Measuring Your Window
The initial step in crafting your valance involves accurately measuring your window and curtain rod to ascertain the precise fabric dimensions required. Precise measurements are paramount to ensuring a flawless fit for your valance. Here’s how to proceed:
- Measure the Curtain Rod: Determine the width of your curtain rod. This measurement establishes the fundamental width of your valance. In the example provided by our source, the curtain rod spanned 33 inches.
- Determine Your Desired Valance Length: Decide on the desired drop (length) of your valance. Typically, valances range from 10 to 15 inches in length. Should you opt for a 10-inch drop, allocate a few additional inches for seam allowances. For instance, if you desire a 10-inch hanging length, you should cut the fabric to 12 inches to accommodate seams and hemming.

Stage 2: Calculating the Necessary Fabric Width
The required fabric width is contingent upon whether you envision a ruffled or a smooth, non-ruffled valance.
- Non-Ruffled Valance: For a sleek, unembellished valance devoid of ruffles, multiply the width of your curtain rod by a factor of 1.5. For example, with a 33-inch curtain rod, multiplying by 1.5 yields 50.5 inches of fabric.
- Ruffled Valance: To achieve a ruffled aesthetic, multiply the width of your curtain rod by a factor of 2. Utilizing the same 33-inch rod, you’ll require 66 inches of fabric for a ruffled valance.
Stage 3: Cutting the Fabric to Size
Once you’ve established the accurate dimensions for your fabric, proceed with cutting.
- Cut Fabric According to Calculated Dimensions: Cut the fabric in accordance with the measurements you previously calculated. Remember to incorporate extra inches for hems and seams.
- Optional Lining Addition: If incorporating a lining fabric such as muslin, cut the lining fabric to precisely match the dimensions of your primary fabric. A lining not only imparts a fuller appearance to the valance but also shields your main fabric from potential sun damage and fading.

Stage 4: Assembling the Valance Through Sewing
With your fabric now meticulously cut, it’s time to commence the sewing process. We’ll initially guide you through the construction of a non-ruffled valance, subsequently transitioning to the ruffled variant.
Creating a Non-Ruffled Valance
- Constructing a Fabric Tube: In the event of employing two fabric layers (main fabric and lining), position them with their right sides facing inward and stitch along the longer edges, leaving the shorter sides unsewn. Employ a quarter-inch seam allowance.
- Inverting the Tube to the Right Side: Following the stitching of the sides, invert the fabric tube to expose its right side. Employ an iron to press the fabric, ensuring the creation of smooth, defined edges.
- Forming a Rolled Hem: Fold the fabric along the open, shorter edges by a quarter of an inch, then fold again to fully encase the raw edges. Press the folds firmly and execute a straight stitch along the edge to securely fasten the hem.
- Sewing the Curtain Rod Pocket: Measure a distance of one and a half inches downward from the upper edge of the valance to delineate the space for the curtain rod pocket. Utilize your ruler and fabric marker to draw a straight line across the fabric. Stitch along the marked line, ensuring the inclusion of backstitches at the start and finish to reinforce the stitches.

Creating a Ruffled Valance
For a valance adorned with ruffles, the procedure closely mirrors that of the non-ruffled version, albeit with a few distinguishing elements.
- Construct a Fabric Tube: As before, align the right sides of your main fabric and lining, stitching along the longer edges to form a tube. Again, ensure the shorter sides remain open.
- Invert and Press the Fabric: Turn the fabric right side out and press it flat with an iron to eliminate any wrinkles or creases.
- Create a Rolled Hem: On the open, shorter ends, fold the edges inward by a quarter-inch, fold again, press, and stitch to create a neat rolled hem.
- Decide on the Ruffle Amount: This valance boasts reversibility, meaning both sides of the fabric will be visible. Determine the extent of trim (or contrasting fabric) you wish to showcase on the front side. For instance, you may desire to display three inches of trim. Employ your ruler to mark the fabric, fold it at the marked line, and press with an iron.
- Stitch in the Ditch: Once your fold is firmly set, stitch along the seam where the two fabrics converge (referred to as “stitching in the ditch”). Ensure the thread color harmonizes with the fabric for a polished finish.
- Create the Rod Pocket: Mirroring the non-ruffled valance, measure one and a half inches downward from the upper fold and mark a line across the fabric. Stitch along this line to create the rod pocket.

Stage 5: Adding the Finishing Details
Upon completing the sewing stage, insert the curtain rod into the designated pocket and proudly display your valance. Take a moment to admire your handiwork! Irrespective of whether you opted for a ruffled or non-ruffled style, your newly crafted DIY window valance serves as an exceptional means of personalizing your living space.
Valuable Tips for Achieving Success
- Select the Appropriate Fabric: For a valance with a structured form, prioritize heavier fabrics such as cotton or linen. Conversely, for a softer, more flowing aesthetic, favor lighter fabrics like silk or polyester blends.
- Ironing Throughout the Process: Ironing your fabric after each step aids in maintaining a smooth surface, simplifying the working process and assuring clean, professional results.
- Mastering Stitching in the Ditch: When sewing reversible valances, employing the “stitching in the ditch” technique can effectively conceal seams, facilitating a seamless transition between fabrics.
- Customizing Your Valance: Elevate your valance with the addition of trims, tassels, or decorative tape along the lower edge for a distinctive touch. Furthermore, experiment with variations in ruffle length or fullness to align with your personal aesthetic.
Step By Step Video Tutorial
In Conclusion
Constructing your own DIY window valance represents a straightforward yet gratifying endeavor capable of profoundly transforming the ambiance of a room. Armed with just a handful of materials and fundamental sewing skills, you can fashion a custom valance that authentically reflects your individual style. Whether you lean towards a refined, tailored presentation or a delicate, ruffled composition, this guide encompasses all the essential knowledge required to embark on your project. So, why not seize the opportunity to infuse your windows with renewed vitality through a handcrafted valance?
Relish the journey of enriching your home’s comfort and charm, one stitch at a time!
Frequently Asked Questions Regarding DIY Window Valances
Uncover answers to prevalent inquiries pertaining to DIY window valances, encompassing materials, stylistic options, and installation insights for achieving impeccable window decor.
1. How much fabric do I need for a 36″ window with an 18″ long valance?
For a 36″ wide window, you’ll need fabric 1.5 to 2 times the width of the window, depending on whether you want a straight or ruffled valance. For an 18″ length, add 2 inches for hemming. Therefore, you’ll need fabric approximately 54″ to 72″ wide and 20″ long.
2. What type of curtain rod should I use for my valance?
A standard curtain rod works well for most valances. If you want to make a more dramatic or formal look, you can use a decorative rod or a rod with finials. For heavy fabrics, a thicker rod is recommended.
3. Can I make my valance reversible?
Yes! To make a reversible valance, stitch two fabrics together (right sides facing), then sew a rod pocket at the top and bottom. This allows the valance to be flipped and displayed on either side, making a versatile design.
4. How do I know if I need a lining?
A lining is optional but recommended if your fabric is thin or if the valance will receive direct sunlight. Lining helps protect the fabric from fading and adds fullness. Muslin is a great, affordable option for lining.
5. What should I do if my fabric puckers while sewing?
If your fabric puckers, check the tension on your sewing machine. Lower the tension slightly and use a sharp needle designed for the fabric type. Pressing the fabric as you sew can also help prevent puckering.
6. How do I prevent uneven hems?
To ensure a straight hem, use a ruler to measure and mark your fold before sewing. Pressing the hem with an iron before sewing helps to keep everything aligned. A fabric starch or Best Press can also help maintain sharp edges.
7. Can I adjust the ruffle fullness?
Yes, you can adjust the ruffles by changing the width of the fabric. For more dramatic ruffles, use a width double or even triple the window width. For fewer ruffles, reduce the width to 1.5 times the window width.
8. How do I stitch the rod pocket securely?
To stitch a secure rod pocket, measure 1.5 inches from the top of the fabric for a standard pocket. Mark the line with a fabric marker, sew straight along the marked line, and backstitch at both ends to reinforce the seam. For reversible valances, ensure the pocket is sewn at the top and bottom.

