
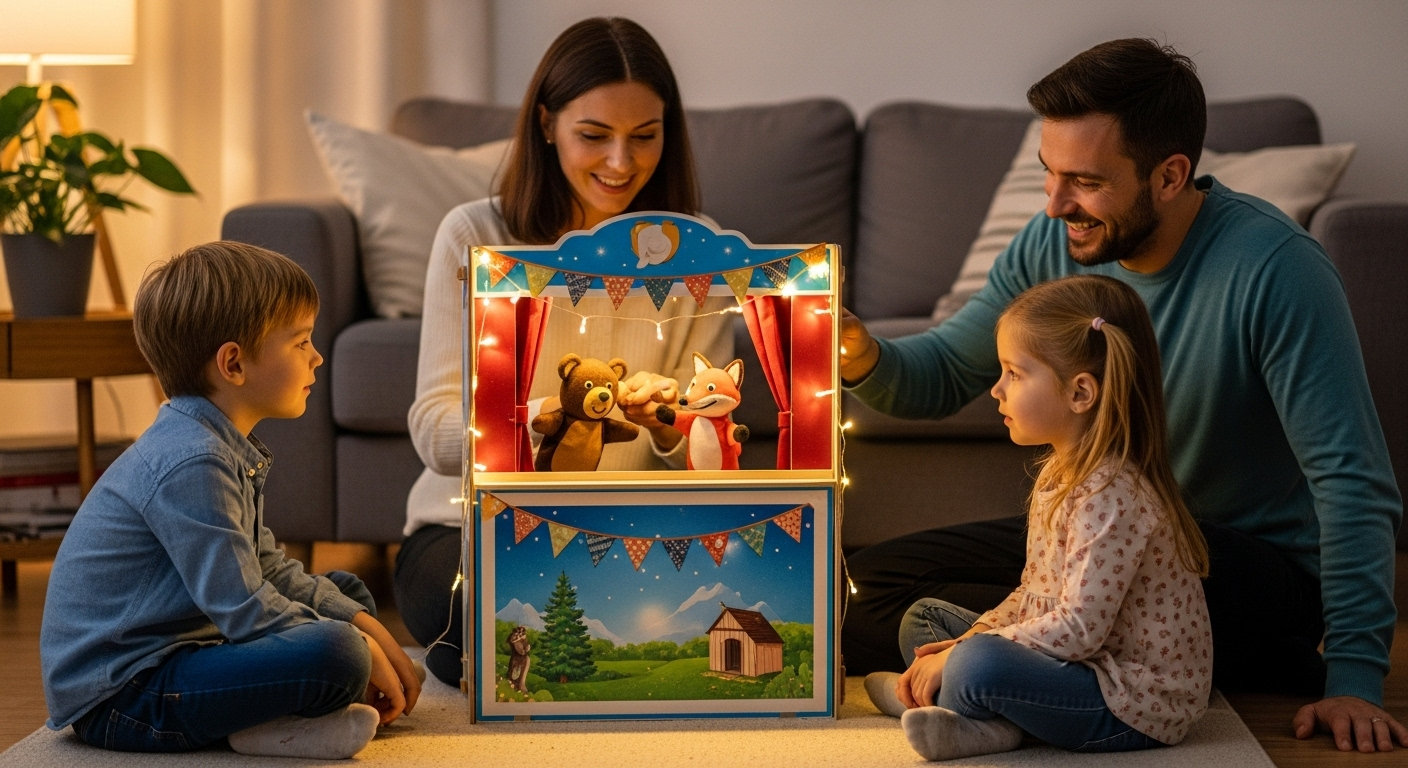
Constructing a DIY puppet theater is a fulfilling and captivating endeavor, bringing delight to both kids and adults. Perfect for family entertainment, educational activities, or community gatherings, a puppet stage ignites imagination and storytelling. This guide will lead you through the process of building your very own puppet theater using repurposed wooden boxes and a handful of readily available materials. Let’s dive in!

Essential Materials for Your Project
Before you begin, gather the following items:
- Two wooden crates: Easily sourced from arts and crafts retailers such as Michaels.
- Wooden dowel rod: A 26.5-inch rod to serve as the curtain support.
- Hardwood square dowels: Two 36-inch lengths for the vertical supports.
- One 25-inch length for the top framework.
- Two 14-inch lengths for the bottom framework.
- White foam board: Used to prevent visibility through the crate openings.
- Red curtain: To add a touch of theatrical flair.
- Felt or paper letters: For adding personalized decorations.
- Paint: Your preferred colors for decorating the crates and adding accents.
- Hot glue gun: For securely joining the components.
- Hammer and nails: To reinforce the structure.
- Scissors and box cutter: For precisely cutting the foam board and adjusting the curtain.
- Measuring tape or ruler: For ensuring accurate measurements.
- Marker: For marking cut lines and nail placements.
Detailed Step-by-Step Instructions
Discover how to create a DIY puppet theater with these comprehensive step-by-step directions, covering everything from crate preparation to creative embellishments and final assembly.
Step 1: Preparing the Wooden Boxes
- Apply Paint to the Crates: Color the exposed sections of the crates, focusing on the base, one side, and the interior if desired.
- Avoid painting areas that will be hidden to conserve paint and time.
- Allow Sufficient Drying Time: Ensure the paint is completely dry before moving forward. This prevents unwanted smudges during construction.

Step 2: Constructing the Foundation
- Position the Boxes: Arrange the crates horizontally with their openings facing outward. Ensure they are aligned evenly along the tops and sides.
- Install the Lower Support: Utilize the two 14-inch pieces for the base. Position one along the back, close to the bottom of the crates, and the other at the front bottom edge.
- Drive nails through each end to securely fasten the supports to both crates.
Step 3: Incorporating Vertical Reinforcement
- Affix the Tall Supports: Use the 36-inch lengths for vertical reinforcement. Adhere them to the sides of the crates using hot glue, ensuring they are aligned uniformly.
- Reinforce with Nails (Optional): For increased stability, add nails to secure the side supports if the glue alone is insufficient.

Step 4: Setting Up the Curtain Support
- Prepare the Curtain Rod: Slide your red curtain onto the 26.5-inch dowel. If the curtain is too long, shorten it slightly below the crate height.
- Install the Rod: Position the dowel across the tops of the two vertical supports.
- Secure it firmly with hot glue. Add nails for extra reinforcement if necessary.
Step 5: Improving Visibility Blockage
- Cut Foam Board Pieces: Measure and cut pieces of white foam board to precisely fit within the open spaces of the crates.
- Secure the Foam: Use the hot glue gun to attach the foam board to the inside back of the crates. This ensures the puppeteer remains concealed during performances.

Step 6: Adding Decorative Elements
- Create Letter Decorations: Cut letters from felt or paper with scissors or a cutting machine, such as a Cricut Maker.
- Arrange the letters to form a title or phrase, such as “Puppet Theater.”
- Attach the Embellishments: Use hot glue to affix the letters to the top front of the crates.
Step 7: Final Checks and Assembly
- Assess Stability: Verify that all nails and glue joints are secure. The structure should be robust and able to withstand movement during performances.
- Test the Curtain Functionality: Ensure the curtain moves smoothly along the rod. Adjust its length or positioning as needed.

Innovative Enhancements
While the basic puppet theater is fully functional, here are some ideas to further enhance its design:
- Decorative Painting:
Apply painted designs or patterns to the crates to create a more playful aesthetic. - Illumination:
Incorporate small LED string lights along the edges to create a theatrical atmosphere. - Changeable Signage:
Create signs with Velcro backing for easily changing the play titles. - Integrated Storage:
Utilize the interior space of the crates to store puppets and related props when not in use.
Helpful Project Tips
- Prioritize Safety:
Use tools like the box cutter and hot glue gun with caution to prevent accidents. - Accurate Pre-Measurements:
Verify all measurements before cutting or nailing to ensure a precise fit. - Sequential Workflow:
Allow sufficient drying time for glue and paint before proceeding to the next step. - Select High-Quality Materials:
Choose durable crates and sturdy dowels to ensure the puppet theater lasts for years.
Enjoying Your Finished Stage
Once completed, your puppet theater is ready for countless hours of imaginative play. Encourage children to write their own scripts, create puppets, and perform shows for friends and family. It’s more than just a toy; it’s a gateway to creativity and enjoyment.
Take pride in your handiwork—it’s a unique creation that highlights your skills and imagination. Now, gather your puppets and let the performance begin!
Frequently Asked Questions About DIY Puppet Theaters
Find answers to common questions regarding DIY puppet theaters, including materials, setup advice, and creative performance ideas.
1. What is the estimated project expense?
The overall cost depends on your existing supply inventory. Wooden crates typically range from $10 to $15 each, dowels from $2 to $5, and foam board from $5 to $10. Factoring in paint and additional supplies, anticipate spending between $40 and $60.
2. Is it possible to increase the height of the puppet theater?
Absolutely! To create a taller theater, use four or six crates stacked vertically. Ensure structural integrity by securing the crates firmly with longer support pieces or additional nails.
3. What alternatives can I use if I don’t have access to a Cricut machine?
You can manually cut letters and decorations using stencils and scissors or purchase pre-cut felt letters from craft supply stores.
4. How can I ensure the crates remain stable during the assembly process?
Place a piece of wood or foam beneath the crates while hammering nails. This helps maintain a level structure and prevents misaligned nails.
5. Is it suitable for outdoor use?
Yes, but apply weather-resistant paint or varnish to protect the wood from moisture. Store the theater indoors when not in use to prolong its lifespan.
6. What alternatives exist if I don’t have foam board for blocking visibility?
You can use sturdy cardboard, painted wood panels, or even thick fabric glued inside the crates to close the gaps.
7. How should I store the puppet theater?
Remove the vertical supports and dowel rod for compact storage. The crates can then be used to store puppets and props.
8. Can this project be adapted for classroom settings?
Certainly! Customize the size and design for classroom use. Add more crates for storage and increase the height of the theater if needed.

